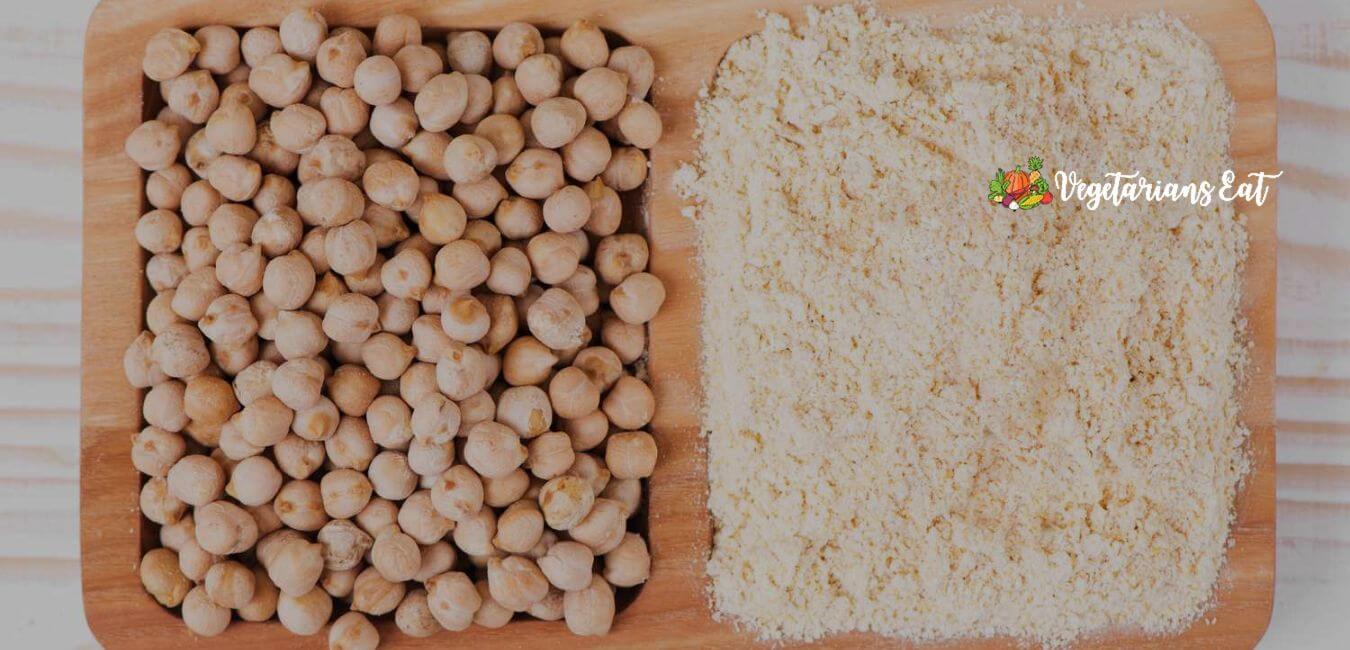
Have you ever wanted to make your own flour at home? Guess what, it’s easier than you think! Today, we’re diving into the exciting world of homemade flour, specifically focusing on how to make chickpea flour.
This magical ingredient is not just delicious but also gluten-free. It’s great for baking, thickening sauces, and even making pancakes. Imagine having the power to create this versatile flour right in your own kitchen!
You can use it in so many recipes and wow your family and friends. So let’s get started on this fun and simple kitchen project that anyone can do!
Table of Contents
Preparing Chickpeas
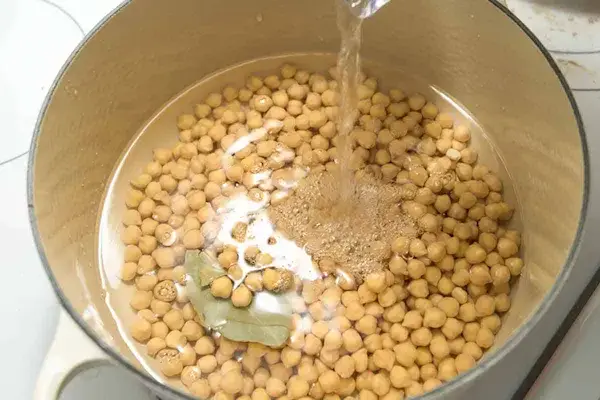
Before you can make flour, you need to get your chickpeas ready. Here are the 3 steps on how to do it.
Dry Chickpeas Selection
Picking the right chickpeas is the first step. Go for dry, whole chickpeas. These work best for making flour. You can find them at grocery stores or health food shops. Make sure they look clean and free from any dark spots or cracks.
Washing And Soaking
Next, wash the chickpeas well in cold water. This removes any dirt. Then, soak them in water for 8 to 12 hours. This step makes it easier to grind them later. Use a big bowl because chickpeas will expand as they soak.
Draining And Drying
After soaking, drain the chickpeas and spread them out on a towel to dry. They need to be really dry before grinding. You can use a clean cloth to pat them down. This helps remove any extra water.
Grinding Process
The preparation is over, and now comes the exciting part: transforming your prepared chickpeas into flour. Let’s discuss this in 4 steps.
Blender Or Food Processor
The first step is picking the right gadget for grinding. A high-speed blender or a sturdy food processor will do the trick. Either way, make sure it’s clean and in tip-top shape to get the best results possible when grinding the chickpeas.
Pulse To Coarse Texture
Add the chickpeas to your machine. Initially, aim for a coarse texture by using the pulse function. This is an important stage. Achieving a sandy texture first ensures you’ll get fine flour in the end without overworking your machine.
Fine Flour Consistency
Once the chickpeas are coarsely ground, continue to pulse or blend until you achieve a fine powder. Your flour is so fine that it feels smooth to your touch. This is the final grinding stage, and you’re almost done!
Sifting For Smoothness
Last but not least, sift the finely ground chickpea powder through a sieve. This will remove any remaining lumps and ensure your chickpea flour is velvety smooth. Sifting is a finishing touch that makes your homemade flour look and feel professional.
With these 4 steps, you’ll have your own homemade chickpea flour ready for cooking and baking adventures!
Storing Homemade Flour
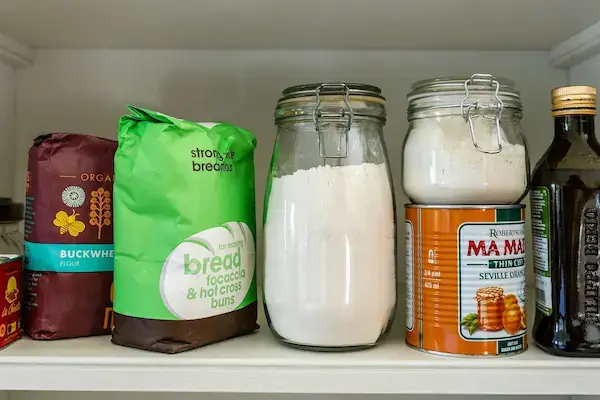
You’ve made your own chickpea flour. But wait, the journey doesn’t end here. Let’s make sure that your hard work stays fresh for as long as possible. Here are 4 key tips for properly storing your freshly made flour to make it last longer.
Airtight Containers
The first step in keeping your flour fresh is using an airtight container. This keeps moisture and air out, which are two big enemies of fresh flour.
Choose a container that seals well, and you’re off to a good start in making your flour last.
Cool, Dark Place
After sealing your flour, place the container in a cool, dark place. Direct light and heat can spoil the flour quickly. A pantry or a cupboard away from heat sources like the oven or stove is perfect for storing your homemade chickpea flour.
Refrigeration Option
Consider refrigerating it if you want to extend the life of your chickpea flour even more. While not necessary for short-term storage, it’s a smart move if you won’t be using the flour soon. Just make sure the container is still airtight!
Shelf Life Considerations
Lastly, keep track of how long your chickpea flour has been stored. Generally, it can last up to 2 months in a pantry and longer in the fridge. Knowing your flour’s age helps you plan your cooking and avoids any waste.
With these 4 storage tips, your homemade chickpea flour will be ready and fresh whenever you need it!
Using Chickpea Flour
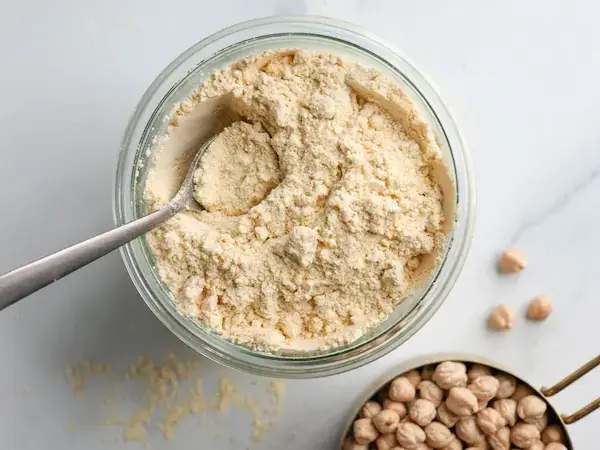
Now, let’s get into the fun part: using your flour in cooking and baking! Chickpea flour is versatile and has a lot to offer. Let’s explore 4 ways you can use it.
Gluten-Free Baking
For those who can’t have gluten, chickpea flour is a great substitute in baking. You can make bread, pancakes, and even cookies. It gives baked goods a rich, nutty flavor while keeping them gluten-free. It’s a win-win!
Savory Dishes Enhancement
Chickpea flour isn’t just for baking. You can use it to thicken sauces and soups. Some people even make chickpea flour-based flatbreads and crackers. The flour adds both texture and a subtle, earthy flavor to savory dishes.
Batters And Breading
Say goodbye to soggy fried foods! Chickpea flour makes a crispy batter for frying veggies or chicken. It sticks well and adds a little extra flavor. So, next time you’re frying, swap out your regular flour for chickpea flour and taste the difference.
Nutritional Benefits
Did you know chickpea flour is packed with protein and fiber? That’s right, it’s not just flour; it’s a superfood! Using it in your cooking not only tastes great but also adds a nutritious punch to your meals.
FAQs
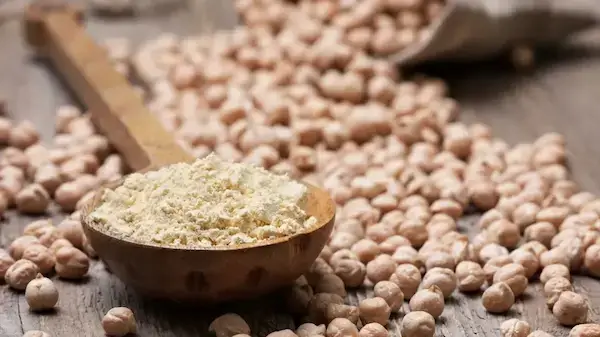
1. What Type Of Chickpeas Are Best For Flour?
For the best chickpea flour, it’s good to use dry, uncooked chickpeas. These give a smooth texture and a great taste. You can choose either Kabuli or other types, but many people prefer Kabuli for its lighter color.
2. Can You Grind Chickpeas Without Special Equipment?
Yes, you can! A strong blender works well, too, if you don’t have a food processor. Just make sure to pulse the chickpeas in short bursts. This helps you get a nice, even flour. Always remember to sift the flour for smoothness.
How To Make Chickpea Flour: Conclusion
You did it! Now you know how to make chickpea flour right in your own kitchen. It’s simple, healthy, and useful in many recipes. From gluten-free baking to savory dishes, the sky’s the limit.
Chickpea flour is not only tasty but also packed with good nutrients. So go ahead and add some chickpea magic to your cooking and baking today! With this guide, you’ve gained a skill that’s both fun and practical. Happy cooking!